


Upgrading attic insulation is one of the highest-value improvements Parker, TX homeowners can make to reduce cooling load, improve comfort, and extend the life of HVAC equipment. Green Tech specializes in professional blown-in attic insulation installations tailored to North Texas conditions—hot, humid summers, fluctuating spring storms, and mild winters—so your home stays comfortable year-round while using less energy.
Why blown-in attic insulation matters in Parker, TX
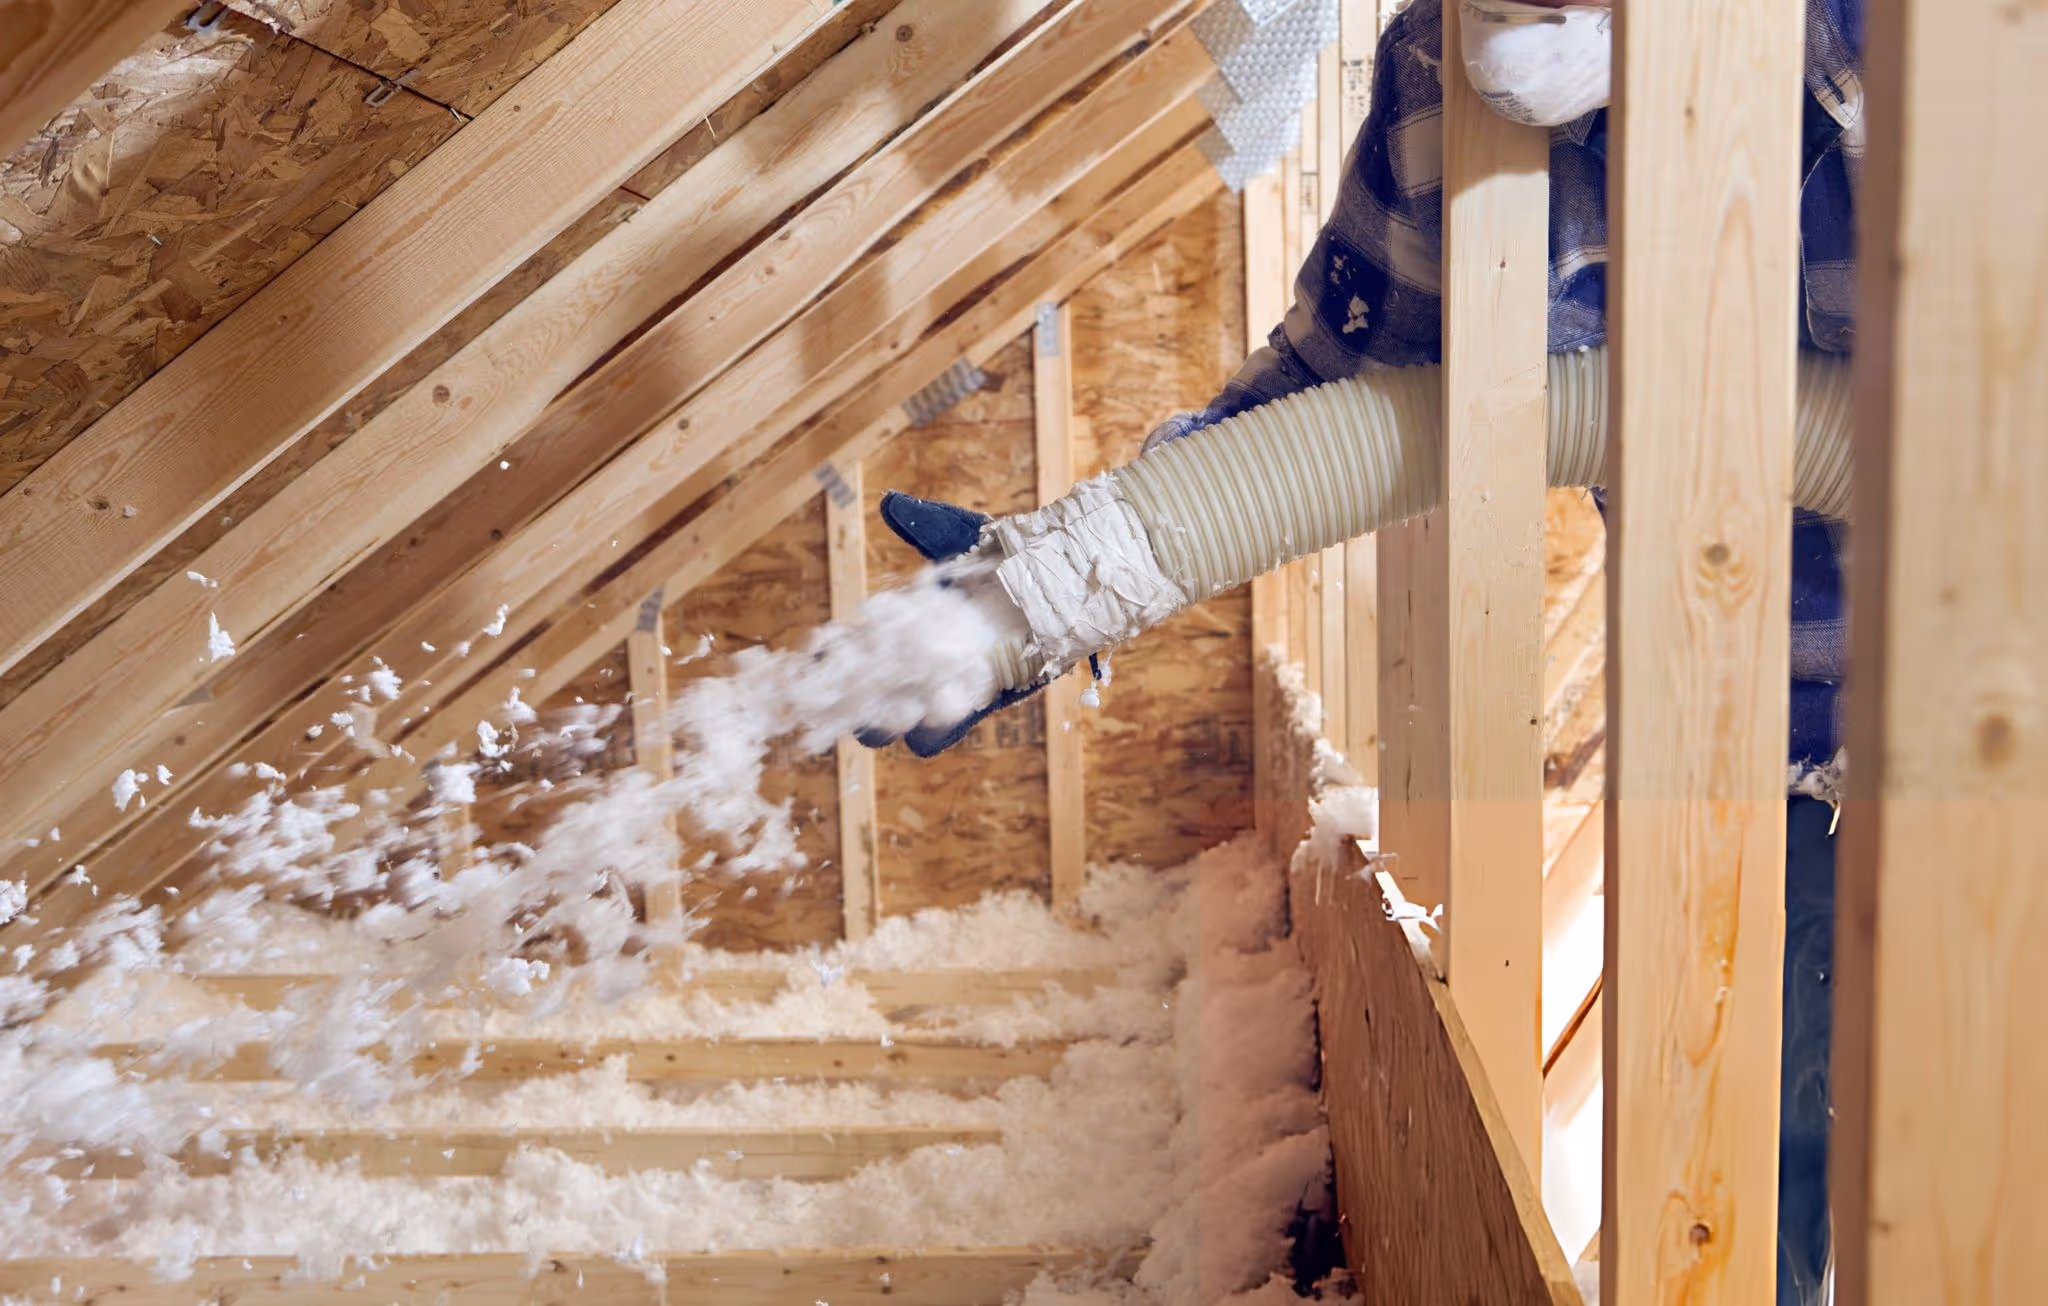
Parker and the greater DFW area experience long cooling seasons where heat gain through the attic dominates energy bills. Blown-in insulation (fiberglass or comparable loose-fill materials) fills irregular cavities and covers joists better than loose batts, reducing heat transfer and evening out temperature across upstairs rooms. Proper attic insulation also helps control attic humidity and reduces strain on air conditioners during peak summer months.
Common attic insulation problems we see in Parker homes
- Undersized or settled insulation leaving thin spots and thermal bridges
- Compressed batt insulation in storage areas or over ducts
- Air leaks around recessed lights, plumbing stacks, attic hatches, and duct boots
- Moisture or pest damage that degrades R-value
- Inadequate attic ventilation paired with high humidity
Recommended R-values for Parker, TX
For the North Texas climate, the common recommendation is to target attic R-values in the R-38 to R-49 range for optimal energy performance. Many older homes in Parker have far less (commonly R-13 to R-19). Blown-in fiberglass typically provides about R-2.2 to R-2.7 per inch, while denser materials like cellulose deliver higher R per inch. Green Tech evaluates existing insulation depth and composition and calculates the exact depth required to reach your target R-value.
Materials: fiberglass and comparable options
- Fiberglass blown-in: Noncombustible, resistant to mold, lightweight, and effective at covering joists and irregular spaces. Low moisture retention when attic ventilation is correct.
- Cellulose (comparable): Higher density and R-value per inch, often better at filling small voids and providing some air-sealing due to its settling characteristics. Generally treated for fire and pest resistance.
Green Tech recommends the material based on attic conditions, moisture risk, budget, and desired R-value. We explain tradeoffs clearly so you can choose what’s right for your home.
Step-by-step installation process
- Attic inspection and measurement
- Walk the attic to document current insulation type, depth, areas of settling, and any moisture or pest issues.
- Measure depth across multiple locations and inspect attic ventilation, soffit and ridge vents, and HVAC penetrations.
- Use thermal imaging or blower door testing when needed to identify major air leaks.
- Attic prep
- Clear access paths, protect attic equipment and stored items, and verify safe flooring for technicians.
- Remove contaminated or damaged insulation and dry/mold-treat any moisture-affected areas.
- Air-sealing
- Seal known attic bypasses: attic hatches, recessed lights, plumbing stacks, ducts, and ceiling penetrations using approved materials.
- Install gaskets or insulation baffles where necessary to maintain soffit-to-ridge airflow.
- Application
- Load the chosen loose-fill material into the blower and apply to the attic floor to reach the calculated depth for the target R-value.
- Pay special attention to uneven areas, eaves, and framing cavities so the result is uniform.
- Cleanup and verification
- Remove debris, vacuum work areas as needed, and restore attic hatch seals.
- Perform a final depth check and document before/after R-value estimates. Optional thermal imaging or follow-up blower door testing can verify performance improvements.
Most typical single-family attic installs are completed in one day depending on access, attic size, and prep needs.
Expected energy savings and comfort improvements
When a home moves from insufficient to recommended attic R-values in Parker, homeowners commonly see:
- Noticeably shorter AC run-times and smaller temperature differentials between upstairs and downstairs
- Reduced peak indoor temperatures in summer and increased overnight comfort
- Lower HVAC cycling and potentially longer equipment life
- Energy savings that often offset the upgrade cost over time through reduced cooling bills
Actual savings vary based on home tightness, system efficiency, and occupant behavior, but homeowners should expect meaningful improvements in comfort and reduced energy use after a proper blown-in insulation upgrade.
Inspection and measurement procedures
Green Tech documents the project with:
- Pre- and post-installation depth measurements and estimated R-values
- Photographs of problematic areas (before) and the finished attic (after)
- Optional blower door or thermal camera reports to quantify air sealing and heat loss improvements
- These records help with warranty claims, future maintenance, and potential incentive or rebate applications.
Warranty and maintenance considerations
- Manufacturer warranties on insulation products vary; Green Tech reviews these details and provides the relevant documentation.
- Workmanship or installation guarantees are provided for the air-sealing and installation scope; ask about specific terms at the time of estimate.
- Maintenance is minimal: inspect the attic annually or after severe storms for signs of moisture, pests, or disturbed insulation. Ensure attic ventilation and roof penetrations remain intact.
Financing and rebates
Many homeowners in the DFW area qualify for utility incentives, local rebates, or federal energy efficiency tax programs depending on timing and program rules. Green Tech can identify commonly available incentives and offers flexible financing options to spread project costs when applicable.
Before and after examples (typical scenarios)
- Before: Older Parker home with R-13 blown batt, upstairs overheats on summer afternoons, HVAC cycles frequently.
- After: Blown-in fiberglass to reach R-38, targeted air-sealing completed. Result: more even temperatures, reduced AC runtime, improved comfort upstairs.
- Before: Home with patchy insulation and attic humidity issues.
- After: Damaged insulation removed, moisture sources addressed, cellulose added for higher density coverage. Result: better thermal performance and improved humidity control.
Cost considerations and ROI factors
Project cost depends on attic square footage, existing insulation removal, access difficulty, material choice, and extent of air-sealing required. Key ROI drivers are current insulation level, local electricity rates, and how much of your cooling load is attic-driven. Green Tech documents expected energy and comfort gains to help homeowners evaluate payback.
FAQs
Q: How long after installation will I notice a difference?
A: Many homeowners feel improved comfort within days as upstairs temperatures drop and AC cycles reduce. Full energy savings are measurable over the first cooling season.
Q: Can blown-in insulation settle or deteriorate over time?
A: Some settling can occur in the first year, which is accounted for in initial depth calculations. Properly installed fiberglass and treated cellulose maintain effective R-value for decades if attic conditions remain dry.
Q: Do I need to worry about attic ventilation after adding insulation?
A: Yes. Proper soffit-to-ridge ventilation prevents moisture buildup and preserves insulation performance. Air baffles are installed where needed to maintain airflow.
Q: Will you seal my attic penetrations before adding insulation?
A: Air-sealing is a standard step in a professional blown-in insulation job because sealing penetrations prevents heat transfer and improves effectiveness.
Q: Are there rebates or programs for insulation in Parker, TX?
A: Rebate availability varies; local utilities and federal programs sometimes offer incentives for attic insulation. Homeowners should check current programs when planning an upgrade.

Flexible Financing Options
Explore our range of flexible financing options designed to suit your needs and budget.


