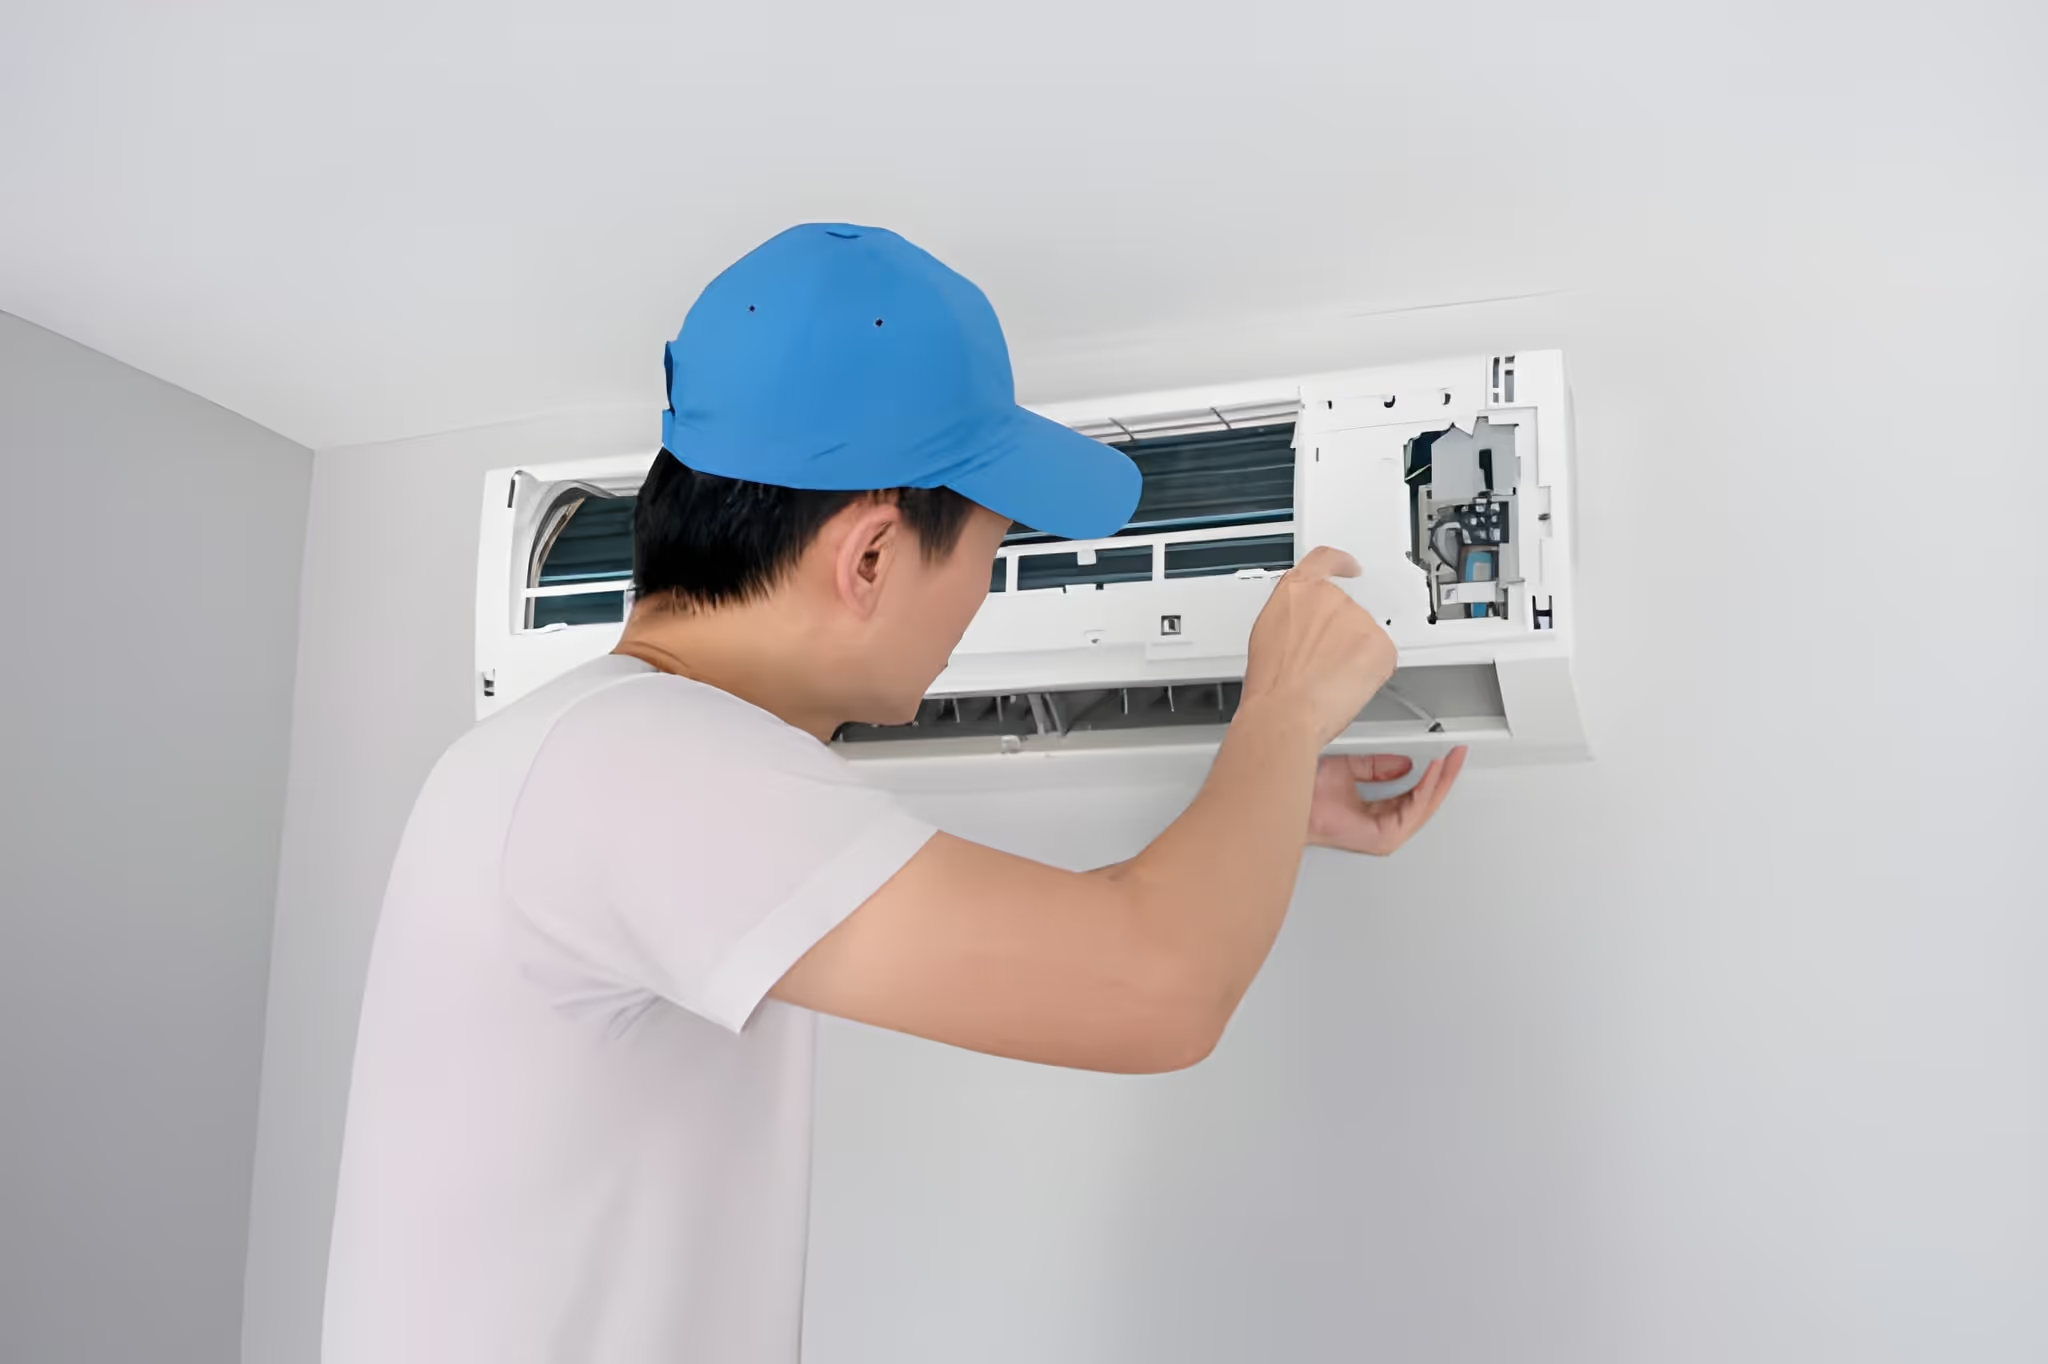
Mini Split Repair in Wylie, TX
Ductless Mini Split systems are a popular choice in Wylie homes for targeted comfort and efficient cooling of individual rooms. When a Mini Split stops cooling, makes unusual noises, or trips breakers, it quickly becomes an urgent problem during Wylie’s hot, humid summers. Here we explain the diagnostic process, the common failures we repair, typical solutions and parts, realistic timelines and cost ranges, warranty considerations and manufacturer-authorized service benefits, 24/7 emergency response options, and practical prevention tips tailored to homeowners in Wylie, TX.

Why timely Mini Split repair matters in Wylie, TX
Wylie’s climate — hot summers with high humidity and occasional severe storms and electrical disturbances — stresses Mini Split components: compressors work harder, indoor coils attract moisture and debris, and outdoor electronics are vulnerable to surges. Prompt repair preserves system efficiency, prevents refrigerant loss and compressor damage, lowers energy costs, and restores comfort quickly. Addressing issues early also reduces the chance of costly component replacements.
Common Mini Split problems we diagnose in Wylie homes
- Refrigerant leaks — reduced cooling performance, frost on lines, or long run times.
- Compressor or inverter faults — outdoor unit fails to start, frequent short cycling, or error codes indicating inverter/PCB failure.
- Indoor fan/blower problems — weak airflow, noisy blower, or intermittent operation.
- Thermostat/sensor failures — inaccurate room temperature, unit won’t call for cooling, or erratic cycling.
- Electrical failures — tripped breakers, blown fuses, corroded wiring, or damaged capacitors/relays from power surges.
- Clogged condensate drains and pans — water leaks, overflow, or secondary pan alarms, especially during humid months.
- Communication errors in multi-zone systems — one zone not responding while others work fine.
Step-by-step inspection and troubleshooting process
- Initial system assessment — verify model/serial, capture fault codes and symptom history, and do a safety check of power and disconnects.
- Visual inspection — look for obvious damage, oil stains (indicating leaks), insect nests, debris around the outdoor unit, and condition of line set insulation.
- Electrical testing — check voltage, current, fuses, capacitors, contactors, and control board inputs to identify electrical faults or weak components.
- Refrigerant and pressure checks — measure pressures and superheat/subcooling to confirm charge level and detect leaks. Electronic leak detectors or UV dye are used as needed.
- Mechanical and airflow diagnostics — inspect and test indoor blower, motor, fan blades, evaporator coil cleanliness, and check airflow restrictions.
- Control and sensor validation — test room thermistors, door/window sensors (if present), remote/thermostat communication and firmware where applicable.
- Operational run test — start the system and monitor temperatures, pressures, and electrical behavior to confirm the root cause.
- Detailed repair plan and estimate — present findings, outline recommended repairs or replacement parts, and explain expected outcomes and warranty implications.
Typical repair solutions and parts used
- Refrigerant leak repair and recharge — patching or replacing sections of line set, brazing, vacuuming, and recharging to manufacturer spec. Use of correct refrigerant (R410A or newer blends) is critical.
- Compressor or inverter (outdoor PCB) replacement — common on older or heavily stressed outdoor units. OEM-matched compressors or factory-certified inverter modules recommended.
- Fan motor or indoor blower repairs — replace motor, bearings, fan blade, or cabling to restore airflow.
- Thermistor/sensor replacement — precise OEM sensors to maintain accurate temperature control.
- Electrical component swaps — capacitors, contactors, fuses, relays, transformers, and surge protectors.
- Drain and condensate pump service — clear or replace clogged lines, install or repair condensate pumps, and clean pans to prevent overflow and mold.
- Coil cleaning and deodorizing — remove buildup to restore heat transfer and prevent odors.
- Line set re-insulation and protective measures — replace degraded insulation and protect outdoor piping from sun and rodents.
Using OEM parts preserves performance and often preserves manufacturer warranty coverage. In some cases high-quality aftermarket parts are appropriate; your technician should explain the tradeoffs.
Expected timelines and cost ranges
- Diagnostic visit and basic repair (filter, sensor, minor electrical): 1 to 2 hours. Typical costs vary by market but generally fall on the lower end for simple repairs.
- Refrigerant recharge and minor leak repair: 2 to 4 hours. Costs depend on the leak location and the amount/type of refrigerant required.
- Fan motor, blower, or condensate pump replacement: 2 to 4 hours, variable parts costs.
- PCB/inverter replacement: 3 to 6 hours; parts costs can range widely depending on brand and model.
- Compressor replacement or full outdoor unit replacement: 4 to 8+ hours and often the most expensive repair, sometimes approaching the cost of a replacement system on older equipment.
Note: local labor rates, parts availability, system complexity (single-zone vs. multi-zone), and brand/model significantly affect cost. Timely diagnosis prevents escalation that leads to longer downtime and higher costs.
Warranty and manufacturer-authorized service
Manufacturer warranties often require authorized service from trained technicians and use of OEM parts to remain valid. Keeping original purchase records and registering the system when installed can protect warranty coverage. Authorized service technicians have access to firmware updates, diagnostic codes, and OEM replacement parts that help ensure repairs are done correctly and in compliance with warranty requirements. Always verify whether a proposed repair will affect your existing warranty.
24/7 emergency response options
Loss of cooling during a heat wave or a system that risks compressor damage requires rapid attention. Emergency response can include priority diagnostics, temporary safe shutdown to protect the compressor, and temporary cooling measures for occupied spaces. For electrical faults or water leaks that threaten property, immediate action reduces secondary damage and health risks.
Practical tips to prevent recurring issues in Wylie homes
- Replace or clean filters every 1 to 3 months, especially during pollen season and heavy use.
- Schedule professional Mini Split maintenance at least annually, with a cooling-season check before summer and a second check after peak use.
- Keep outdoor units clear of yard debris, grass clippings, and mulch; consider a simple protective cover during severe storms.
- Install surge protection on lines feeding the outdoor unit to reduce risk to inverter electronics from storm-related spikes.
- Ensure adequate airflow around indoor units—avoid blocking with curtains or furniture.
- Monitor condensate lines and secondary pans; flush with a mild bleach solution if biological growth is suspected.
- Track system performance and address small issues early to avoid compressor failure.
Timely, professional Mini Split repair in Wylie, TX preserves comfort, reduces energy waste, and extends system life. Understanding the diagnostic steps, common failures, and realistic repair timelines helps you make informed decisions when your ductless system needs service.

Flexible Financing Options
Explore our range of flexible financing options designed to suit your needs and budget.


