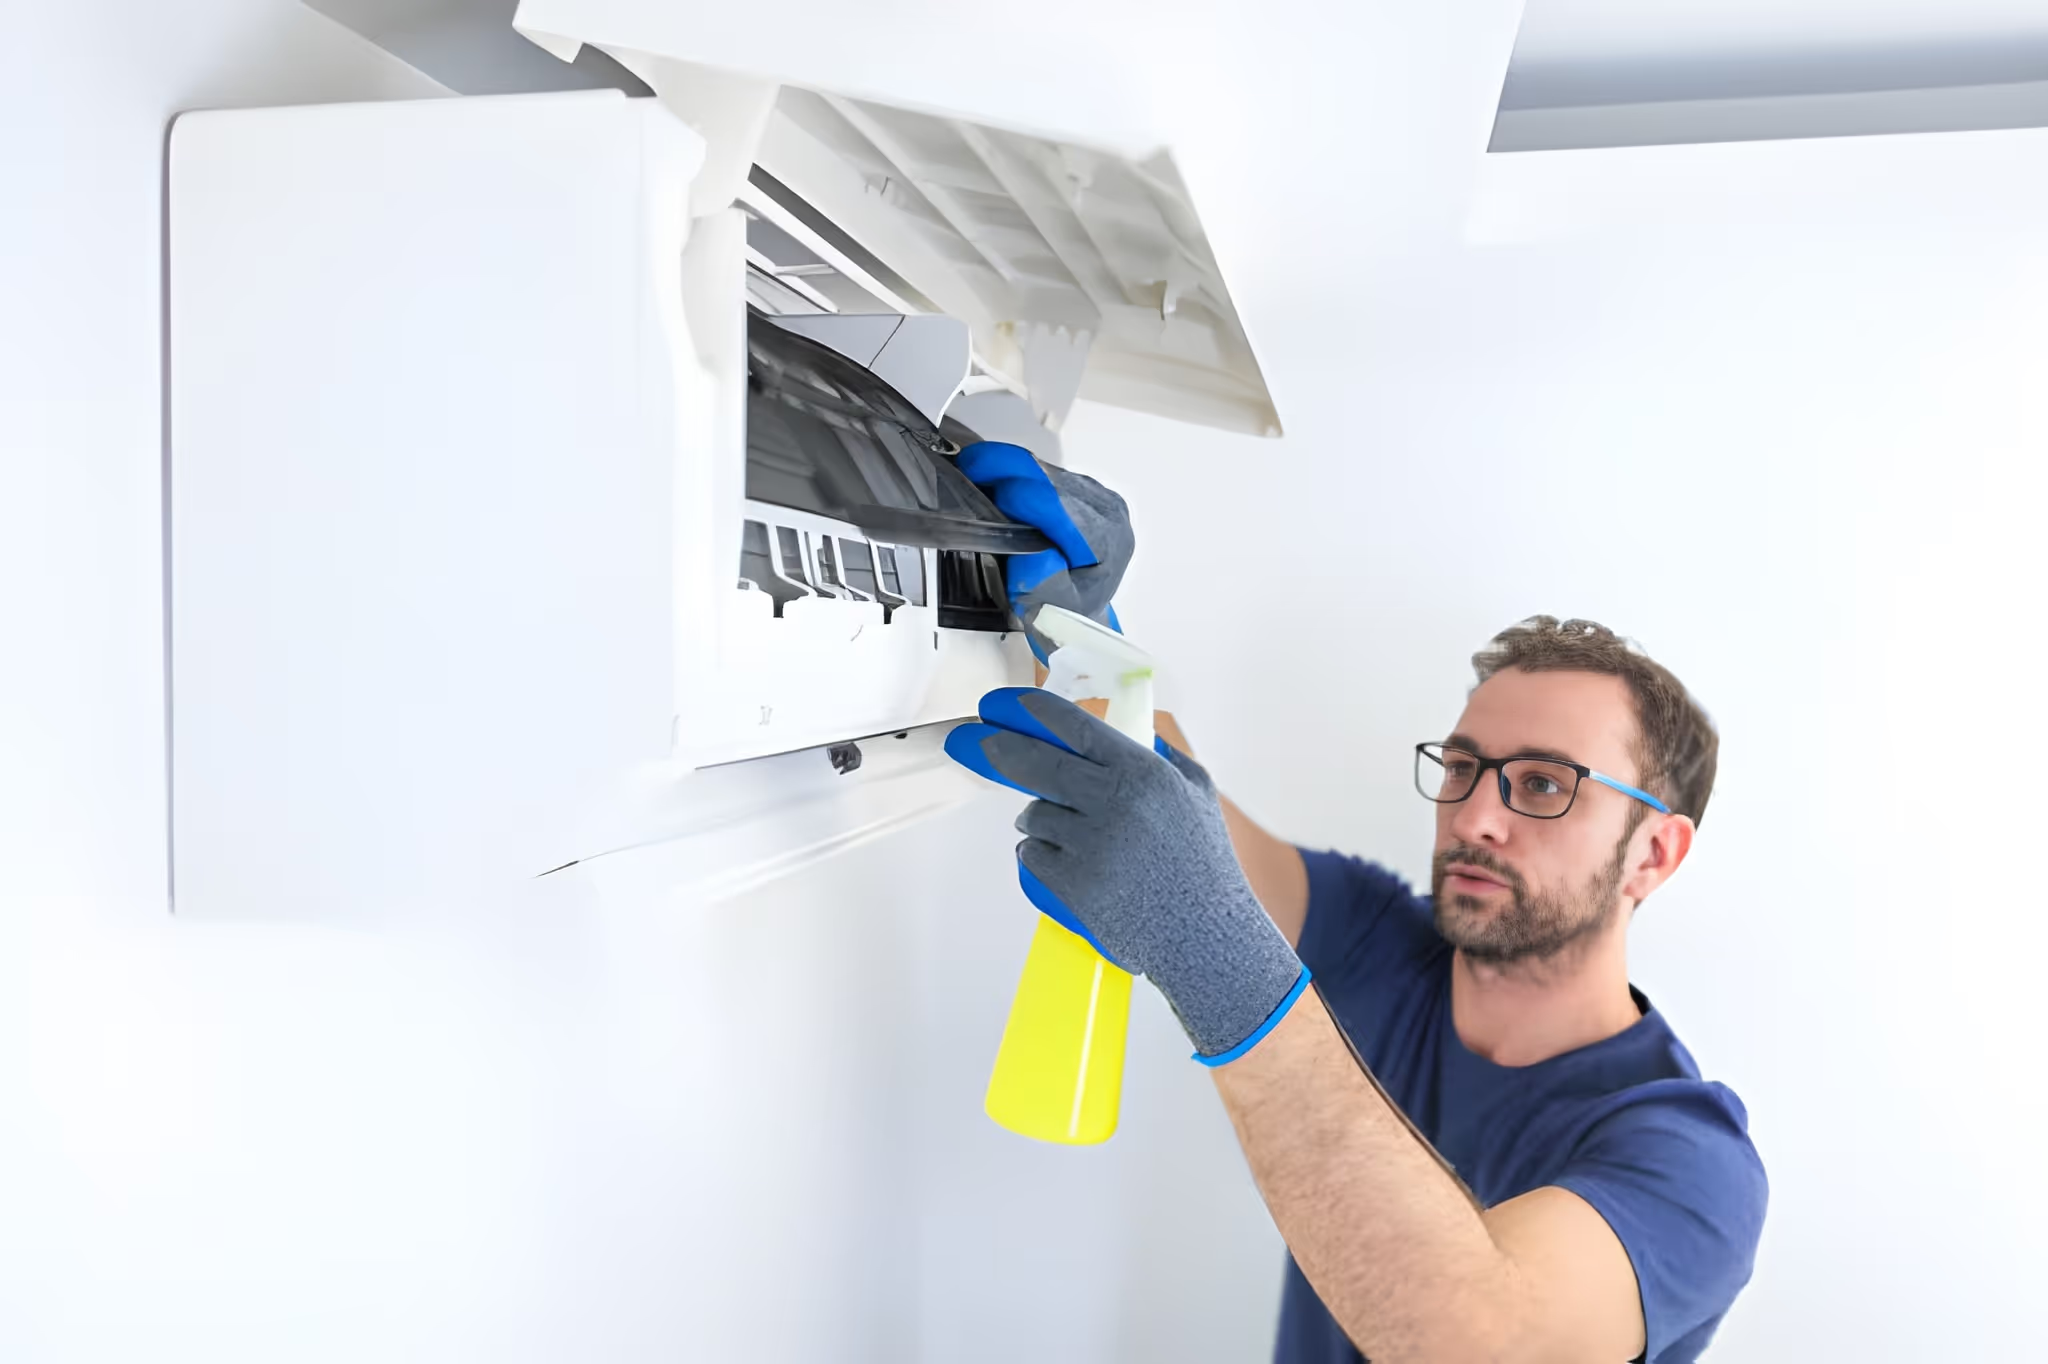
Mini Split Repair in Cedar Hill, TX
Ductless Mini Split systems are a popular, efficient way to heat and cool homes in Cedar Hill, TX, but when they fail the result is immediate discomfort and higher energy bills. Here we explain professional diagnostic and repair services for Mini Splits in Cedar Hill, covering the most common problems, a clear step-by-step troubleshooting and repair process, typical parts replaced, expected repair timelines, warranty and guarantee practices, pricing transparency, and how emergency and routine repairs are generally handled in the area. The goal is to help homeowners make an informed decision when a technician is needed.

Why timely Mini Split repair matters in Cedar Hill
Cedar Hill experiences hot, humid summers and occasional severe storms. High seasonal run times accelerate wear on compressors, fans, and electrical components, while humidity and pollen increase coil and filter fouling. Delaying repairs can allow a minor fault (low refrigerant, a bad capacitor, a stuck reversing valve) to escalate into compressor failure or a refrigerant leak that risks larger, costlier work. Prompt, professional diagnosis preserves efficiency, keeps indoor air quality stable, and protects manufacturer warranties.
Common Mini Split problems in Cedar Hill homes
- No cooling or heating despite the system running
- Weak airflow from indoor heads or uneven zone performance
- Refrigerant leaks or low refrigerant pressure (short cycling, loss of capacity)
- Compressor failure, hard starts, or a unit that will not start
- Indoor or outdoor fan motor failures or noisy operation
- Electrical faults: tripped breakers, failed contactors, bad capacitors, or control board errors
- Frozen evaporator coil or ice on indoor unit piping
- Water leaks from indoor unit condensate pan or blocked drain lines
- Sensor failures or communication errors between indoor and outdoor units
Step-by-step diagnostic and repair process
- Initial intake and symptom review
- Technician documents the exact symptoms, runtime history, thermostat settings, and any recent power events or maintenance history.
- Visual inspection and basic checks (30–60 minutes)
- Inspect filters, indoor heads, outdoor unit, line set connections, and power at the disconnect. Check for visible oil or signs of refrigerant leakage and examine drain lines.
- Read error codes and system communication tests
- Many Mini Splits display diagnostic codes; technicians read and interpret codes and confirm communication links between the indoor heads and outdoor compressor.
- Electrical testing and component isolation
- Measure voltages, check capacitors, contactors, relays, and motor continuity. Replace failed electrical parts if needed.
- Refrigerant and pressure testing (if cooling performance is poor)
- Use proper gauges and leak-detection tools. Small leaks may be repaired and recharged; larger or inaccessible leaks may require component or line replacements.
- Functional testing and calibration
- After repairs, test the unit across modes and load conditions, validate temperature split and airflow, and document amperages and pressures.
- Customer review and documentation
- Provide a clear written report of findings, parts replaced, and recommended next steps. Explain warranty coverage on parts and labor provided with the work.
Typical parts replaced during Mini Split repair
- Replacement compressors or compressor components (often a major repair)
- Fan motors for indoor blower or outdoor condenser fan
- Start/run capacitors and contactors
- Control boards and communication modules
- Thermostats or remote sensors and receiver units
- Expansion devices, TXVs, or metering components
- Suction and liquid line valves, Schrader cores, or line-set fittings
- Driers/filters and replacement refrigerant when legally required
- Condensate pumps and drain pan components
- Indoor evaporator coil repairs or replacement in case of substantial damage
Expected repair times
- Basic diagnostic visit: 30–90 minutes
- Minor electrical or component replacement (capacitor, contactor, sensor): 1–3 hours
- Refrigerant recharge or small leak repair: 1–4 hours (may require one or two visits depending on evacuation/testing needs)
- Fan motor or indoor head replacement: 2–4 hours
- Compressor replacement or major outdoor unit swap: half day to full day (often requires recovery, replacement, evacuation, and recharge)
Timing varies with part availability, accessibility of units (roof/closet), and whether permits or HOA approvals are needed.
Service guarantees and warranties
- Manufacturer parts remain under factory warranty; proper documentation and authorized repairs are required to keep these valid.
- Labor warranties typically range from 30 days to several years depending on the provider; written labor warranty terms should be provided prior to work.
- Professional services often include a workmanship guarantee that covers the specific repair for a stated period. All warranties should be documented in writing and clarify exclusions (improper maintenance, prior damage, unauthorized servicing).
Pricing transparency — what to expect
- Diagnostic fees are common and cover time, testing, and a written assessment; the fee may be applied toward repair work in some arrangements.
- Clear, written estimates itemize parts, labor hours, refrigerant costs, and any permits or disposal fees.
- Pricing drivers include system type and brand, accessibility (rooftop vs ground), parts availability, refrigerant type and quantity, and whether emergency service is required.
- Reputable providers disclose parts markup, labor rates, and warranty terms up front. Ask for a written proposal before work begins so you can compare repair vs replacement economics.
Emergency vs routine repairs — scheduling and priorities in Cedar Hill
- Emergency repairs are typically prioritized during extreme heat to protect occupant health and to prevent system damage; emergencies may be handled 24/7 by many service providers.
- Routine repairs and maintenance are scheduled during regular business hours and often booked in advance; spring preventive checks before peak summer and fall checks before winter are recommended.
- For refrigerant leaks and electrical faults, technicians often perform urgent isolation and safety measures immediately and complete permanent repairs once parts or additional testing are available.
Practical maintenance tips to reduce repairs
- Clean or replace filters monthly during heavy-use seasons.
- Keep at least 2–3 feet of clearance around outdoor units and clear debris after storms.
- Schedule annual professional Tune-Ups before summer to check refrigerant levels, electrical components, and airflow.
- Install whole-home surge protection if frequent power storms occur in your area.
- Monitor energy use and unusual noises; early detection saves time and money.
Timely, professional Mini Split repair in Cedar Hill restores comfort, prevents more costly failures, and preserves efficiency during the hottest months. A transparent diagnostic process, documented estimates, and clear warranty terms are key to a confident repair decision.

Flexible Financing Options
Explore our range of flexible financing options designed to suit your needs and budget.


